Coastal Collective Co.

The Best Little White Dresses for Spring and Summer

Spring, Fashion Blog PostsAnneke McConnellComment

As we begin to transition into Spring and wedding season is around the corner, white dresses are a staple for the coming months!  I personally think they can look great on EVERYONE!

Lace is a good feature to look for when choosing a dress as it's all over the place right now and for good reason - it's gorgeous, classic, AND fashion forward in trending shapes and patterns.

Whether you are looking for something for a nicer occasion or a casual beach walk, I've rounded up some great options below.

I LOVE this pretty lace shift dress for nicer occasions and this cotton dress for a more casual vibe.


Some things to look for when shopping for white dresses are:

  1. Consider what the use and occasion of your dress is.  Look for dresses that are lined or a thicker material so you avoid any see through action.

  2. Remember that texture like lacy, pleats, etc. can help to create a more seamless look.

  3. Pick a dress that makes you feel comfortable, beautiful, and for more special occasions something that highlights your favorite features.  Maybe a long strapless maxi dress to show off your shoulders or a skater dress to accentuate your waist.  


COASTAL WHITE DRESSES


Many of these dresses come in a variety of colors which is always nice! I'd love to know which ones you love most!!


COMPLETE THE LOOK


xo, 

Anneke

P.S. "People who like boxes usually want you to stay in yours. Be bold. Be you."


Let's Connect!

NOW ON PERISCOPE! @ANNEKEMCCONNELL

Follow along on Facebook

Follow along on instagram at:

@annekemcconnell

@coastalcollectivestyle

@coastalinteriors


Want to start a blog? Get me FREE Blogging Ebook to learn more: www.BloggingForBiz.com

How To Whitewash Stone: DIY Fireplace Makeover

Home Blog Posts, Living Room, Our HomeAnneke McConnell

Want to learn how to paint furniture?

Grab my FREE Furniture Painting Guide below: 


Hi friends! I'm can't WAIT to share today's before and after with you!  It has actually been a few months since I finished this, but I'm finally able to share all of the details with you.  And with Spring just around the corner, I think a lot of us have some house projects on the brain.  


Thankfully this project was incredibly easy, not too messy, and took just a couple days to get done while the kids played and read books.

Ta-da!  Haha! We're so happy with the results!

Ok so here's the before you guys. You ready for this???

And now to see them side by side!

Thank you in advance for pinning and sharing my little ol' blog ideas you guys!  This is going to save people so much money and trouble!

Ok, so honestly over the years of sharing some home tours and whatnot, many people would say how much they LOVED our stone fireplace.   Every time this would happen, I'd check my attitude at the door because I have wanted to rip that thing down and out for awhile now and add beautiful wide white horizontal planking and marble and ALL things white and bright and coastal.  Did you know I love white? Lol


My husband and I go back in forth in our conversations about how much money we really want to invest in this home when we have different financial goals.  The options have ranged from "just live with it as-is" to "tear the entire thing down and rebuild a new home" to less extreme tangible options in between. ;-)

So here are some further details.

The fireplace has a funky hearth that is raised and sticks out that we still have yet to deal with.  This 18 inches or so will make a huge impact in our ability to place furniture in a more user friendly way in the long narrow space.

I've also personally never cared for the way the stone is recessed with sheetrock surrounding it, BUT without cutting into the sheetrock (which is an EXTREMELY messy endeavor) and giving the fireplace a more welcoming look that goes with the vibe of our style, whitewashing the stone was the perfect option.

Now our kitchen is open to the living and dining rooms, to to tie the spaces together I decided to paint the mantle the same color as the cabinets, Simply White by Benjamin Moore (we used Advance semi-gloss).  You can see our Kitchen Makeover series we did last fall here >>>>> kitchen makeover.


Ok so the process of whitewashing the stone is SO easy you guys.  

*some of the following are affilaite links. 


Here's a breakdown of supplies and the steps:

SUPPLIES:

Staining Pads >>> (this is THE SECRET to epic results. They are super absorbent, little to no drips, but great transfer of whitewash mixture)

Paint Brush >>> I use my trusted Purdy brushes. ;-) You want to make sure it is angle and medium to stiff bristles.

Plastice tupperware container

Chalk style Paint you can choose whatever color you'd like for your project (I used Annie Sloan Chalk Paint in French Linen for the first layer, and then Vintage Market and Design Chalk Paint in Dove for the final layer)

***Two alternative white colors I recommend are Rustoleum's Chalked Paint in Linen White OR Annie Sloan Chalk Paint in Pure White.

Water: to mix with the chalk paint

Work Towels >>> to clean any drips that may happen

Work Glasses and Rubber Gloves >>> YES, you should wear these!


DIRECTIONS:


1. Clean your stone with warm soapy water.

If your stone or brick is super glossy and slick or pretty dirty (unlike ours which was very porous and relatively dirt/soot free), you may need to use a product like TSP to get the job done. 


2. Take your paint, water and tupperware and create your whitewash mixture.

It doesn't matter what your ratio is, but you DO need to mix the same ration every time you make more mixture. I personally created a ratio of about 1:1  Too much water with create drips and lighter color.  Too much paint will not look translucent on the stone, but rather "painted on" and coated over the top of the surface.  If you're concerned about the paint not adhering, add a little more paint and always do a test spot first to see if you like the color and the way it looks when applied.


3. Apply the whitewash mixture one small section at a time.

Don't be afraid to really push your brush into the stone and brush with X-like motions to evenly cover the surface.  Working in a small section either one stone at a time like I did with our stone, or if you have brick working with a small area (for example 2 feet by 2 feet) is about right to brush on the mixture.


4. Use your staining pad to wipe any excess whitewash mixture.

Once you brush the whitewash mixture onto your small section, use your staining pad to wipe away the excess and even out the color.  This process moves along at an even pace, so you don't have to wipe the excess away quickly and you don't have to wait a bajillion hours either.

Just brush on, wipe off. Brush on. Wipe off.


******An alternative is to simply use your staining pad to apply the whitewash mixture if your stone is not too rough.  You can always test an area, but a rough stone will simply rip the material of the staining pad. A bristle brush really gets into the cracks and crevices of the stone more easily.


5. Repeat steps 3 and 4 section by section until complete.

6. If you are layering colors, wait for the first layer of your whitewash to completely dry.

I personally waited a day in between doing a base gray-wash layer, and a top white-wash layer.  Meaning I finished the first coat late at night, went to bed and woke up to start the second layer.  You likely don't have to wait that long, especially the more porous your stone is.


That's it! Easy peasy.  Thanks in advance for pinning and sharing this post and supporting this blog.  I appreciate you taking the time to stop by and hope this helps give you the confidence to give it a try!


Our Living Room

Thanks for stopping by and don't forget to enjoy the view!


xo, 

Anneke


Follow along on Facebook

Follow along on instagram at:

@annekemcconnell

@coastalinteriors

@DIYPaintedFurniture


Want to learn how to paint furniture?

Grab my FREE Furniture Painting Guide below: 

YOU MAY ALSO LIKE:


The Best Rope Baskets for Your Home + Weekend Picks

Spring, Interiors, Home Blog Posts, Fashion, Fave PicksAnneke McConnell

Thank you so much for your awesome response to my last post on the new Bookshelf Styling Class by my friend Heather!  You are in for a treat because she is a trained teacher AND designer.  If you haven't signed up yet, do it now before the price goes up March 1st!  See the details HERE.


Onto today's topic of baskets!


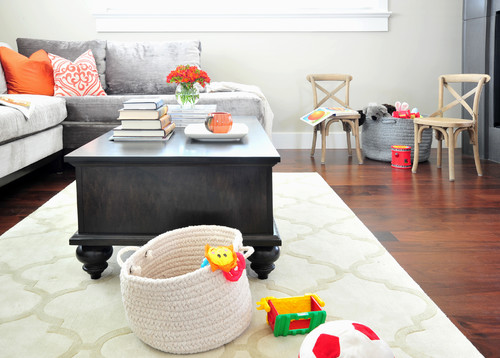
Beautiful rope baskets (well, baskets in general) are one thing that are a versatile MUST in any home.  They corral toys, blankets, and can act as a container for plants like one of my fave, the fiddle fig leaf.


Now, if there are two things I really love to do, it's research things to death (nerd alert!) and bring it all together in one place.  When it comes to finding the most unique rope baskets, my first suggestion would be to go to  ETSY and search "rope baskets".  You will find beautiful handmade pieces and be supporting a small business owner, often for a more affordable price to you! Win win!

Here are a few of my favorites I found:

As for other rope baskets around the internet, there are many, but below are my favorites for a coastal casual style.  I found Joss and Main to have the same items as other retailers but generally for about $20 less.  It's a free membership site, but I've heard many say they don't want to join sites like this. Trust me, they are worth it and have tremendous savings on their flash sales!

Other sites that I found to be the best were Wayfair, Amazon, Nordstrom, and Target.  

By FAR, I think my favorite rope basket is this one by Colonial Mills. You can find it in a variety of places, but Wayfair has it available in 10 different color combinations!

Large Striped Rope Basket for Storage

This rope basket is similar, but a little more expensive. I love the two tone look though and it comes in 4 color combinations.

Turquoise and White Striped Rope Basket for Storage


Here is a cute one on a smaller scale (with other size and color options), that's affordable and perfect for putting magazines, books or plants in.  Sometimes a smaller size is needed for things like match box cars and such. ;-)

Small Two Tone Knit Basket for Storage


What do you think? Are you a storage basket loving person like myself? What do you use them for? I'd love to hear more in the comments!


Also, as we head into the weekend, there are so many new items arriving for Spring! Here are a few things that have caught my eye lately.  The pretty Spring sandals are my favorite!

Thanks for stopping by and don't forget to enjoy the view!


xo, 

Anneke


Let's Connect!

NOW ON PERISCOPE! @ANNEKEMCCONNELL

Follow along on Facebook

Follow along on instagram at:

@annekemcconnell

@coastalcollectivestyle

@coastalinteriors


Want to start a blog? Get me FREE Blogging Ebook to learn more: www.BloggingForBiz.com


Bookcase Styling Made Simple

Coastal Interiors, Home Blog Posts, Interiors, Styling TipsAnneke McConnell

I have to admit, up until recently I was the person who avoided open bookcases at all costs. They often end up looking messy and cluttered, so I just personally assume to go with a cabinet that has doors to "hide the mess" of it all.

Sounds familiar?  Now that I've been "schooled" in how to decorate a bookshelf, I'm excited to pass along some ideas to you as well so you can style your bookshelf with confidence!

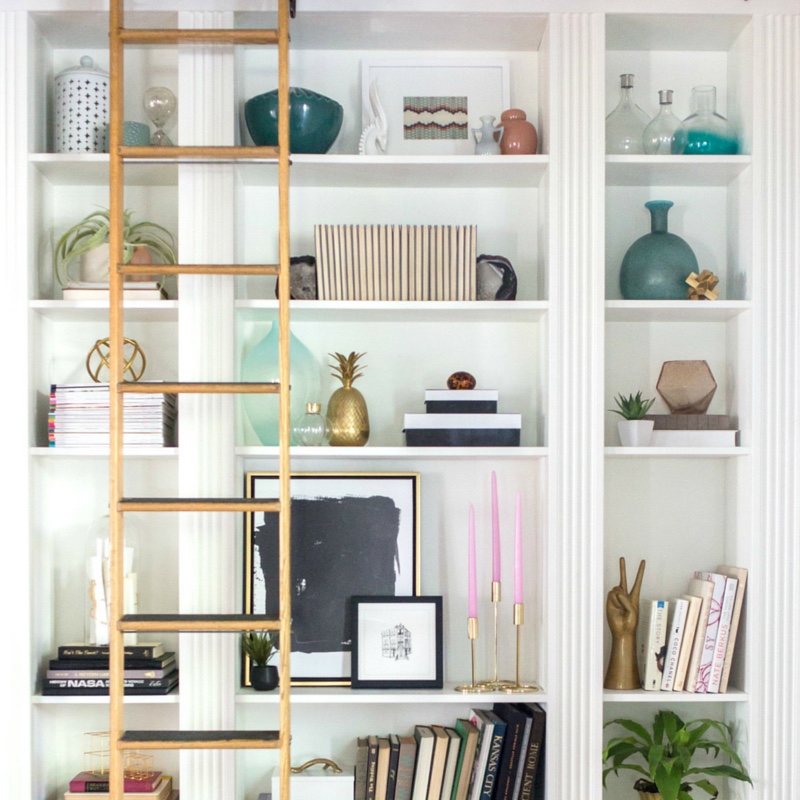
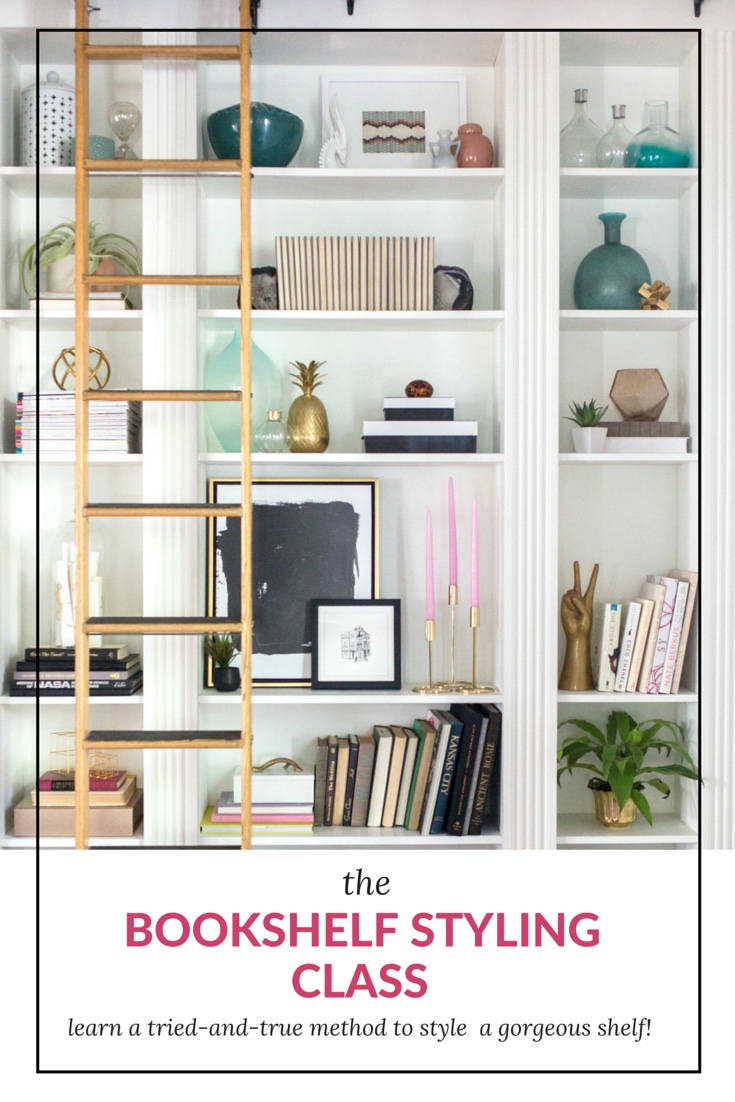
This gorgeous bookcase above was styled by my friend Heather from The Decor Fix.   To me, bookshelves are one of the trickiest areas in your home.....you need them to function, but you also want them to add to the style of the room.   Plus, a well styled bookshelf can have such an impact.  Case in point above!

Heather has created the most fantastic bookshelf styling class that even as a design lover, I learned so much from her and am happy to share her class with you.  It's the perfect mix of knowledge and action without any amount of overwhelm. #mykindofclass

After years working as a designer, Heather developed a tried-and-true method for bookshelf styling that works with any decorating style.  For myself, this includes a lot of white coral, seashells, framed photos of family, and of course books upon books!


When you sign up for the class (discounted through February!), you get immediate access to 90 minutes of videos as well as handy templates and cheat sheets to help you style your space. 
 

Heather will guide you through how to use the existing items in your home, shop smart, and style with an overall plan in place. (No more guesswork and constant rearranging) #yesplease


Heather acts like your personal decor coach as she teaches you the "whys and hows" of styling, so if you have ever felt overwhelmed by styling, this class is for you.


While Heather goes into the full breakdown, here are some tips that have helped me over the years.

1. Less is More.

Bookshelves definitely start to look cluttered when there is too much going on. Avoid jam-packing the thing to the brim and purge unnecessary items. Ask yourself, "Do I really need this book I've been meaning to read for 3 years?' Yup.....I just went there. (only because I've been there)


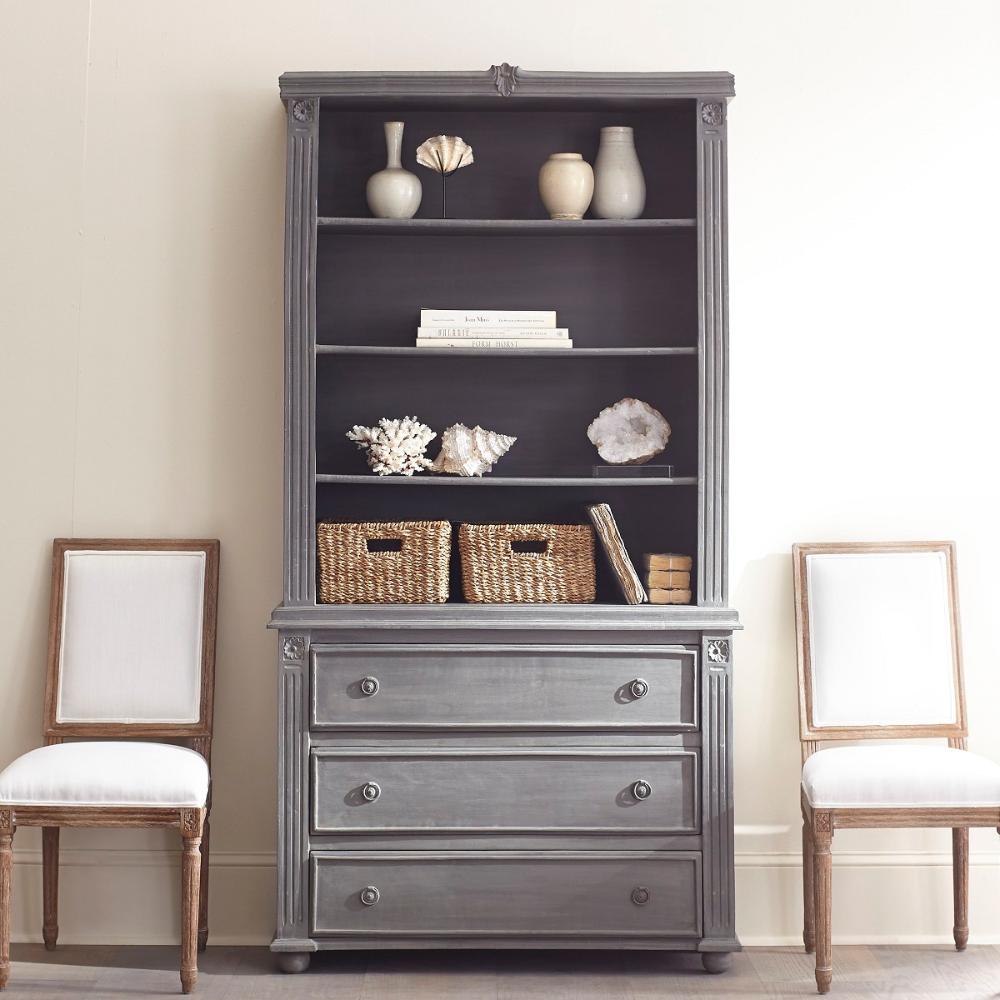
2. Consider A Different Bookshelf.

I've been in that position where we had a home full of hand-me-downs and they honestly just didn't fit the space properly.  Before you say, "But I don't have the money to buy something new!" Wait!  If that's the case, don't stress about it.  Heather will help you out! If you are able to sell what you currently own and buy a new or used bookshelf that fits your home and needs better, go for it!  

I'm also working on more tips for painting furniture if that's more of your need. Details HERE.


3. Shop Your Home.

You'd be surprised what can make a bookshelf finally "work".  Look around your home for decor items that can be pulled together to create a functional bookshelf that is also your kind of style.


source

source


source


source


source

If you're looking for some decor ideas:

- One Kings Lane has beautiful options for book ends!

- Minted has endless, affordable options for art.

- Wayfair is my go to for all things baskets and organization.

- Amazon is where I find some pretty cool picture frames like this square brushed gold one << LOVE THIS!

- Of course check out your local shops, etsy, thrift stores, and own home!


It's honestly a gift to yourself to have a home you can LIVE in, instead of one you constantly feel like "you're working on".  If you're struggling with styling your bookshelves in a way that works for your life, Heather is going to save you so much time and frustration.

It may seem like a simple thing, but time and time again, it proves challenging.

I invite you to check out Heather's class and see for yourself! Click the button below to watch her video and learn more.


Thanks for stopping by and don't forget to enjoy the view!


xo, 

Anneke


Let's Connect!

Follow along on Facebook

Follow along on instagram at:

@annekemcconnell

@coastalinteriors