Coastal Collective Co.

Coastal Interiors: A Thanksgiving Inspired Dining Room

Dining, Home Blog Posts, InteriorsAnneke McConnell

If you are looking to add gorgeous lighting to your home, Horchow is having 25% off for the next couple of days, not to mention some steep discounts on their mirrors. As for lighting, this is where I find so many lantern style pendants and chandeliers, antique brass finishes and overall is hands down a fave site of mine for lighting sources.  You can see their selection of lighting HERE.


These are just a handful of my favorites below, but their selection is stunning.  They have everything I love in design ranging from beaded chandelier, antique brass, capiz shells, jute rope and even lucite.  Gorgeous!


Today's design was inspired not only by these beautiful lighting options, but also this gorgeous brass silverware set.  I fell in love at first sight!  It has a slight hammered texture to it that I love.  What do you think?


It's a bit busy around these parts with furniture makeovers and the One Room Challenge, but be sure to browse the blog for recent blog posts including the Make It Happen Series and fashion for the season! OH!!! Which reminds me that Ann Taylor is also having 40% off Boots and Booties!!! Eek - hold me back! #pnwbootlover

Ok that's it for today! I hope you're week is going well!


xo,

Anneke


Follow along on instagram at:

@coastalcollectiveco

@coastalcollectivestyle

@coastalinteriors

Follow along on Facebook

Want to learn how to refinish your own furniture? Click HERE.

Make It Happen: Learning to Let Go of Things Not Meant For You

Personal DevelopmentAnneke McConnell

We've all done it. Gotten sucked into tasks, routines, the challenge of something, only to look up and wonder how in the world we got where we are.  Even if it's a GOOD place to be, it may not be where you should be, want to be, or help facilitate the goals and dreams you have.

I'm completely aware that at some times and in some places in the world, you have to grab ahold of whatever opportunities come your way.  Often times today though, we are presented with a plethora of opportunities and it can be overwhelming in discerning what is the BEST for us, our families, and those we are wanting to serve.

I was feeling absolutely convicted about this this past weekend. In this great big world of opportunity, it can be hard to discern and let go of "good" things not meant for us, in exchange for the unknown.

From a personal standpoint, that's when FAITH trusts that God is holding us and leading us every step of the way. From my wedding day, to kidney disease, to the loss of loved ones, to bringing AMAZING people into my life, I've experienced and witnessed enough of life's ups and downs to know that faith in God's direction for my life far exceeds any plans I could come up with.  As I go to bed and wake up each morning, I'm leaning on that promise, trusting Him, and learning to let go of things not meant for me.......


So how do you let go of.........

...............the things not meant for you?


HOW DO YOU EXCHANGE GOOD FOR GREAT?


1. Have faith and be open to changing directions.  

There's just no way I can write authentically on my blog about this without putting it first.  It is who I am and it's what I believe and have experienced to be true.  Have faith that God's plans are better than your own.  They may not be more glamorous from other people's perspective, but people come and go.  Time and time again I've found that when I surrendered my thoughts and ideas to Him, I was able to see opportunities that I never would have if I was stuck within my own "tunnel vision".

Keep your eyes and heart open to change. That doesn't mean never finish and abandon everything you begin, but don't get so stuck on one path that you can't see other opportunities along the journey.


2. Surround Yourself with Quality People.

It's true. The Top 5 or more people you are constantly around are who you kind of turn into yourself.  Be selective.  What kind of qualities do they have?

Are they workaholics? Fearful? Lazy? Empathetic? Happy? Energetic? Positive? Tenacious? Gracious? Selfless? Creative? Forgiving? Teachable?

What is it???

This doesn't mean don't spend time with other people that don't have these qualities. We are all a work in progress!  This is about your CORE, in person and online. Who are you allowing to influence, encourage, and teach you?  When you are wondering if you should let go of something possibly not meant for you, who are you going to talk to - who knows you well?


3. Constantly Reevaluate.

I'm personally quite over New Year's resolutions.  No hard feelings if you love them yourself, ok?  They have just proven to be disappointing and limiting for me personally.  I have personally gained the best results for my goals (small and large) when I constantly reevaluate my goals and direction.

I really believe that we are capable of so much more than we realize.

 Make large goals and break them down into into smaller goals.  Make 90 day goals, monthly goals, and weekly goals - all broken down.  It works. I've seen it and experienced it.

There's no reason why you have to wait to start Monday, start January 1st, or wait until whenever.  When you take the time to reevaluate, it's easier to let go of the things not meant for you now.


What do you think?  Do you find it hard to let go of good for great - or really....the unknown?  How do you work through this?


***see the entire series here


xo,

Anneke


Follow along on instagram at:

@coastalcollectiveco

@coastalcollectivestyle

@coastalinteriors

Follow along on Facebook

Want to learn how to refinish your own furniture? Click HERE.

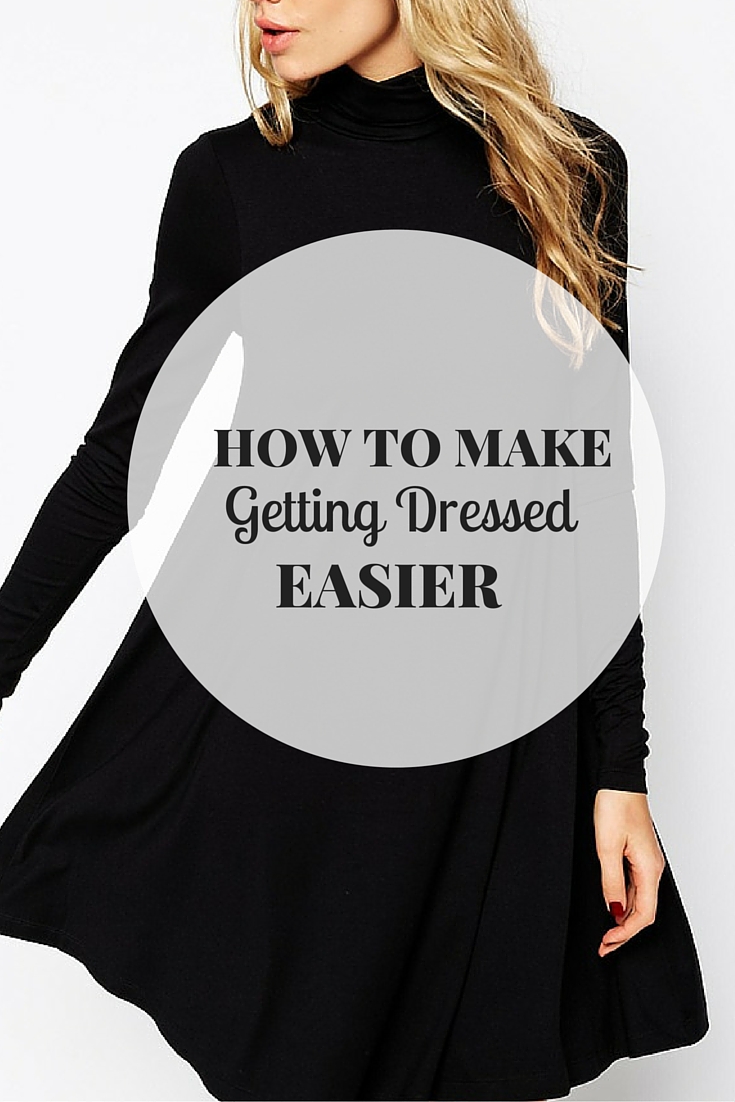
How To Make Getting Dressed Easier

Fashion Blog PostsAnneke McConnell

Have you ever felt like getting dressed in the morning was a struggle?? What to wear when the weather isn't what you thought? Want to know the secret on how to make getting dressed easier and fun??

When I've talked with friends and family about style and fashion, I find that there are many of them who honestly just don't know what to put on in the morning, how to put pieces together, and where to find quality items at a good price.

Today I'm sharing this tips and my faves on the 25% off ShopBop sale!  Just make sure to enter the code INTHEFAM25!  BaubleBar is also having an amazing 25% off sale with the code AMIGOS.


5 Tips to Make Getting Dressed Easier


1. Pick items that mix and match well.  

It is a major stress relief when you have multiple items that work together well.  It's easy to spice things up a bit with a shirt, scarf, and accessories.  Pick items within the same color scheme and don't let anyone let you feel about "same old, same old".  We dress for what works with our lifestyle.  If that's a dress everyday, then have those go-to pieces you can mix and match with certain shoes.  If that's jeans and a sweater - go with it!  I LOVE color, but I personally have a ton of tan, blues, grays and navy in my wardrobe with the occasional jewel tones.  It's what I love and they work well together. :-)


2. Get Your Items Organized.

Not much needs to be explained here - get your stuff organized.  Nothing screams difficulty more than hard to find, hard to reach, random pieces of clothing and accessories everywhere.  Take the time to make things neat and tidy up at least once a week to stay on top of things.


3. Let Go of the Past.

Every day women stare into their closets, and they end up seeing the items they used to wear that they still love but don't fit quite right or they are in a different season of life.  I remember facing this for YEARS as I was pregnant with each of our three kiddos, then nursing, etc. Nothing fit the same.  When these items stop staring at you every day, it is easier to get dressed and a boost of confidence when you have a closet of things that work with your current season.  Even if you don't want to donate certain clothes, consider putting them away in a tote until it's a more appropriate season to bring them out again.


4. Speaking of Seasons - Box Up Non-Season Clothing.

Even if you have a big enough closet, getting those summer clothes out of site when it's freezing outside makes it a million times faster to get dressed in the mornings!  When you see only the actual available items, your mind can make a quicker decision about what to wear.


5. Buy less. Choose well.

It's true. I'm a style blogger encouraging you to buy less.  You really don't need 10 plaid shirts and 100 pairs of heels. I promise.  Unless you really love it, it fits you properly and will last (is good quality), my advice is to pass it up.  Save the money from those cheap impulse buys and it will add up to you being able to buy something you love that will last.


If you find these tips helpful, make sure to pin it and share! Here are my faves from the ShopBop sale and don't forget to check out BaubleBar with the code AMIGOS! They have some super pretty new arrivals. :-) Have fun with your clothes, your closet, and living out loud every day!


xo,


Anneke


Follow along on instagram at:

@coastalcollectiveco

@coastalcollectivestyle

@coastalinteriors

Follow along on Facebook

Want to learn how to refinish your own furniture? Click HERE.

One Room Challenge: Our Kitchen Week 2

Anneke McConnell

Welcome if you are hopping over for the One Room Challenge Our kitchen makeover is coming along well, but one thing is for sure, tackling a kitchen makeover is not for the faint of heart!  I think with all of my years of refinishing furniture, I just thought it would be “no big deal”.

If you missed the before photos and vision for the space, go HERE to check it out.

***UPDATE:

Week 1: The Vision and Before Photos

Week 2: Painting the Cabinets

Week 3: Purging, Storage and Organization Solutions in the Kitchen

Week 4: Herringbone Tile

Week 5: Evaluating Progress

Week 6: Kitchen Reveal

Post Challenge: Island Lighting Update


 Ok, so let me explain my dilemma a bit further.

As I mentioned in the first week’s post (to be fair), I tackled the painting portion this summer.  I took on the One Room Challenge to finish what I started and finally blog all about it.


FIRST MISTAKE - just because you’ve had an idea in your head for literally years does not mean you should be impulsive when actually implementing it.  All these years of using chalk paint, milk paint, latex paint, alllll the paint, I just got the instant motivation this summer, cleaned a small section of the cabinets (you know….so I could get to the transformation faster), opened my can of chalk paint and just started painting.


Ok. So I only cleaned and painted the end panel. I even documented the moment on Periscope. Lol - You know when you want to see result right away?!

But it was good! I’d done this before. White meant multiple layers, and it was going to be AWESOME.


Oh my…….#palmtotheforehead


I love my chalk paint. I even have an online furniture painting class (excitedly inviting you to join us!). Cabinets however are basically like painting 15 pieces of furniture, that you can’t move, and it is a major functioning part of the day to day life - eating and gathering, right? Especially in the summer.


Did I forget to mention I did no prep? I made no temporary kitchen?  That I did not even empty the cabinets? That I was just going to work around everything and do it one section at a time?  That’s the beauty of this kind of paint I thought - it’s super user friendly and forgiving. Need to touch up? No problem.

Oh yes - and the puppy! Not to mention we got this cute little bugger over the summer! His name is Copper - he's a maltipoo and yes, the sweetest thing ever! He pops up on instagram quite a bit. ;-) Ok.....back to the kitchen.

We were not in a position to hire this out, but I would honestly recommend if you can!  We were not going to spray the cabinets. We needed the process to be low mess/overspray.


Here’s what ended up happening when it was all said and done:


  1. I removed all the cabinet doors, drawers and hardware.
  2. I cleaned all of the surfaces.  They were not grimy, so I could just clean them with warm water and simple green, but if you have more tough spots, I’d suggest using TSP (trisodium phosphate).
  3. I hand painted (with a 3” angled brush) three coats of chalk style paint on all the cabinet boxes and both sides of the cabinet door. Paint, dry, flip. Repeat. We had this all set up in our garage on top of wood boards stretched across work horses like these.


At this point I had to have a heart to heart conversation with myself and realized I needed to change directions.  I know that chalk paint can and does work for cabinets, but I had to have an honest look at what I really wanted.  I decided at this point to switch Benjamin Moore’s Advance paint.  It has an amazing hardening agent in it and an awesome wipeable surface in the end. 

I ended up choosing Simply White in semi-gloss for a pretty shiny finish.  Honestly, the reflection of light on this paint finish has really added to the openness of our kitchen/dining/living room - much needed for our tiny little beach house!


So from here what I did and some tips:


  • Hand brush the edges of the cabinet boxes and doors and foam roll all flat surfaces. I tried a couple of rollers and ended up using a foam roller specifically made for a super fine, smooth finish.  I found ours at our local store, but if you're having trouble finding one, here is a similar version.
  • The BM Advance paint has a really great workability and “open time”, so it will level out flat quite nicely.
  • The BM Advance also needs more time to cure before touching (4-6 hours) and 16 hours minimum in between coats.
  • You need to lightly sand the previously painted surface with fine grit sand paper before applying the next coat of paint.  LISTEN >>> I’ve had major eye issues in the past with sanding because I didn’t wear my protective goggles.  This problem was an eye allergy that resulted in me not being able to wear my contacts for month!  So please don't let that happen to you - WEAR YOUR PROTECTIVE GLASSES AND FACE MASK.
  • I caulked all small gaps and seems with paintable caulk. If you don't already have a caulking gun, this is a great option for you. Caulking your edges gives that smooth and seamless finish - it makes ALL the difference!
  • I ended up applying 3 coats total of the BM Advance paint. Yes it took forever. Yes it looks beautiful.


In the end, I'm super happy with how everything looks, but a word of advice:

  1. Plan. Plan. PLAN.
  2. Have patience.
  3. Have a back up plan for someone to take your kiddos when needed while this project is in the works.
  4. Don't strangle your spouse.
  5. If you feel like strangling your spouse, refer to point #3 and either take a break to get fancied up and go out on a date OR knock out an insane amount of work together while the kids are away.
  6. Know that there is a light at the end of the tunnel - just keep going.


Just keepin' it real!


At this point, we could officially call this The $150 Kitchen Makeover since that's a rough number on what we personally spent on supplies.  The change already is AMAZING!!! See!!

And look at the beautiful brass cabinet hardware that has arrived!!! A sweet friend on Instagram led me to these and I fell in love! They are like the jewelry of the kitchen! Lol They also come in brushed nickel if you're interested. The champagne color works really well with our existing granite countertops and gray Seattle weather. 


So what do you think so far? Going in the right direction??!  This week I'm focusing on storage solutions, installing hardware, and ordering some lighting and window treatments.  It's coming all together!


xo,


Anneke


Follow along on instagram at:

@coastalcollectiveco

@coastalcollectivestyle

@coastalinteriors

Follow along on Facebook

Want to learn how to refinish your own furniture? Click HERE.