Coastal Collective Co.

Coastal Kitchen Makeover: Things To Consider When Choosing a Roman Shade

Home Blog Posts, Interiors, KitchenAnneke McConnell

It is amazing how ONE single change can impact the look of a space.  The function is the same, but the style and look is what makes the room "you" and feel pulled together with other design elements.  I'm happy for my recent experience working with Blindster to share our kitchen window update today!

Let's back up a bit first though.  Recently, I decided to tackle our kitchen for the One Room Challenge, and am SO in love with the results so far!! We painted the cabinets white, added brass hardware, got the cupboards organized, and pulled it together with a new rug, curtains, desk area, etc.  You can see the process over the weeks in the following blog posts.

Week 1 / Week 2Week 3Week 4 / Week 5 / The REVEAL

At the end of the challenge, we were still waiting on our lighting and window treatment to arrive, and now that they have, I NEED to update you on the changes! It looks so good if I do say so myself!!!

Just to review, here is the BEFORE when our home was a vacation rental.

FOCUS on the window area above the sink.

Here are just a few thoughts on the design process and why I chose what I did:

  1. I love, love LOVE natural shades.....anything bamboo and beauty and I swoon.  There was something in me saying that they just were NOT the right fit for the kitchen.
  2. One of my main goals after painting the cabinets white was to creating either a focal point with the window or something that would flow seamlessly and give the kitchen a larger feel.  
  3. I usually lean toward inside mount shades, but from previous experience I knew I wanted ALL the light possible without a shade or valance covering the top portion of the window when it was fully open. (see below)
  4. Also, there was an awkward space ABOVE the window and our ceilings are low, under 8 feet high (which was also a challenge when selecting our island lighting) >>>>> SO, choosing an OUTSIDE MOUNT WAS KEY to creating a visually higher ceiling AND letting in the most light possible.
  5. Because this window is right above our sink, I already dealt with the frustration of pulling a string that seemed to always be in the way and I opted to go with a cordless roman shade.
  6. The light sea blue roman shade brought some softness to the room with the fabric and color versus a hard surface/texture of a bamboo shade.

Below is a photo from our previous home showing you what I mean in #3.


So there you have it!  That's how I went about choosing our window treatment, and yes, Blindster was FANTASTIC the entire time to make sure I was going to order something that I loved!


Below you can see when I was popping the plastic parts into the bottom backside of the shade.  This allows us to easily pull the shade up and down with the cordless mechanism.


Β 

We are so happy with how they turned out!

When they arrived, they had a bit more of a green hue to them than I thought they would, but I love them just as much.  The texture of the fabric is amazing, and the lining is great quality.

Here is EXACTLY what I ordered if you're wondering.

Β 

Yup. Wilmington Water did not disappoint!!  Of course I had to get our little maltipoo Copper in a shot. ;-)  And yes.....he desperately needs an appointment with the groomer, because I give up! 

He often comes and lays on the rug next to my feet while I'm cleaning the kitchen from dinner.  You can't tell from here, but there is a bit of a view of the water from the kitchen sink.

Β 

Because the shades are cordless, it's nice that it comes with a clear plastic part that slips easily on and off the bottom of the shade.....not so easily that it detached when you're using it, but easy enough to take off and clean.  The fabric on the shade stays nice and clean this way. #winning

I love adding custom shades to homes because they really fit the space perfectly.  Even as an outside mount, I measured these so that they would fit with just enough space on the sides to add a little margin room and a couple inches below the ceiling to add height without going ALL the way to the ceiling.

I'm happy it looks so beautiful and next up will hopefully be the faucet!

I hope you have found this design post helpful - if so, please pin it and share!

***This is not a sponsored post, however the shades were provided by Blindster, and all opinions are my own.

Β 

xo,

Anneke

Follow along the day to day on instagram at:

@annekemcconnell

@coastalcollectivestyle

@coastalinteriors

Follow along on Facebook

Β 

Β 

Coastal Interiors: Mint Bed and Anchor Bedroom

Interiors, Home Blog Posts, BedroomAnneke McConnell

When it comes to a chic and coastal bedroom, today's design from instagram has a great mix of a antique gold shelving, a cool mint poster bed, navy striping and more.  Not to mention a touch of fun with the gold sequined accent pillow.  I paired these items together with a kid's bedroom in mind, but you made it clear on instagram that you love it for ANY age!

I love putting these designs together, but also know that there are other items that really "complete the look" which I've highlighted in another section below the design.

When it comes down to it, go unapologetically with what you love, whether that bold colors or all whites, golds or polished nickel.  To see some of my recent home decor favorites, go HERE.

Β 

COMPLETE THE LOOK

top pick: Capiz Shell Lighting, set of two at 78% off, under $100 total

Also, just a head's up that one of my FAVE stores, One Kings Lane, has some amazing pieces of furniture, home decor, and gift items up for grabs right now. They are a great place to get high quality at a discount for everything from sofas, chairs, loveseats, tufted beds, wood tables, and more.

See below to get an idea of what I'm talking about!! LOVE IT ALL!! And I definitely have my eye on one of those beds - can you guess which one? ;-)

Thanks for stopping by today!

xo,

Anneke

Follow along the day to day on instagram at:

@annekemcconnell

@coastalcollectivestyle

@coastalinteriors

Follow along on Facebook

Thrifted Nightstand Makeover with FAT paint

DIY, Furniture MakeoverAnneke McConnell

First off, thank you for the social love and comments on my last post - family and life balance is a major passion of mine, so making that video was a special labor of love for my kiddos.  They LOVED it!! 

As for today's post, you know I love a good makeover on a piece of furniture - who doesn't right?  For myself, painting is a form of therapy of sorts.  I can have a glass of wine, music playing, and contemplate the things of life while working away....usually in the evenings or while the kiddos are in school (but replace the wine with espresso).

The scene from today's makeover was a little different because I decided to begin the makeover process on Periscope, which was super fun by the way.  I love helping you see and learn how easy it can be to create your own masterpiece.....like in your dining room in very cramped quarters ;-) (That's my ring light by the way, just to help periscope viewers see better!)

In my excitement to get the makeover started, this is the only before photos I have.  Sorry guys, but I think you get the idea.  

IMG_0645.JPG

This is what I call a "nap time makeover". It's a smaller more manageable piece of furniture, and easy to paint and dry quickly, seal, distress, etc.  And yes, for this makeover (and a few others lately), I set up shop in our dining room nook.  This works ok with chalk like paint or milk paint, because it's not messy, takes very few supplies, and dries quickly.  With the colder weather here in Seattle this time of year, I prefer to avoid working in our garage if at all possible. Otherwise I just set up a space heater. 

Today's makeover is featuring The FAT Paint Company, who sent me some of their paint to give a try.  Overall, I give it a thumbs up from the paint to the beeswax polish.  They have a really great color palette to choose from and of course you can create custom colors by mixing 2 or more colors together. I still have a couple more products to try out so I'll keep you posted! 

All I did was clean the nightstand - did I tell you this was only $5 at our local Goodwill thrift store??? Score!  Ok, here was the process:

  1. I removed the existing hardware and cleaned the nightstand.
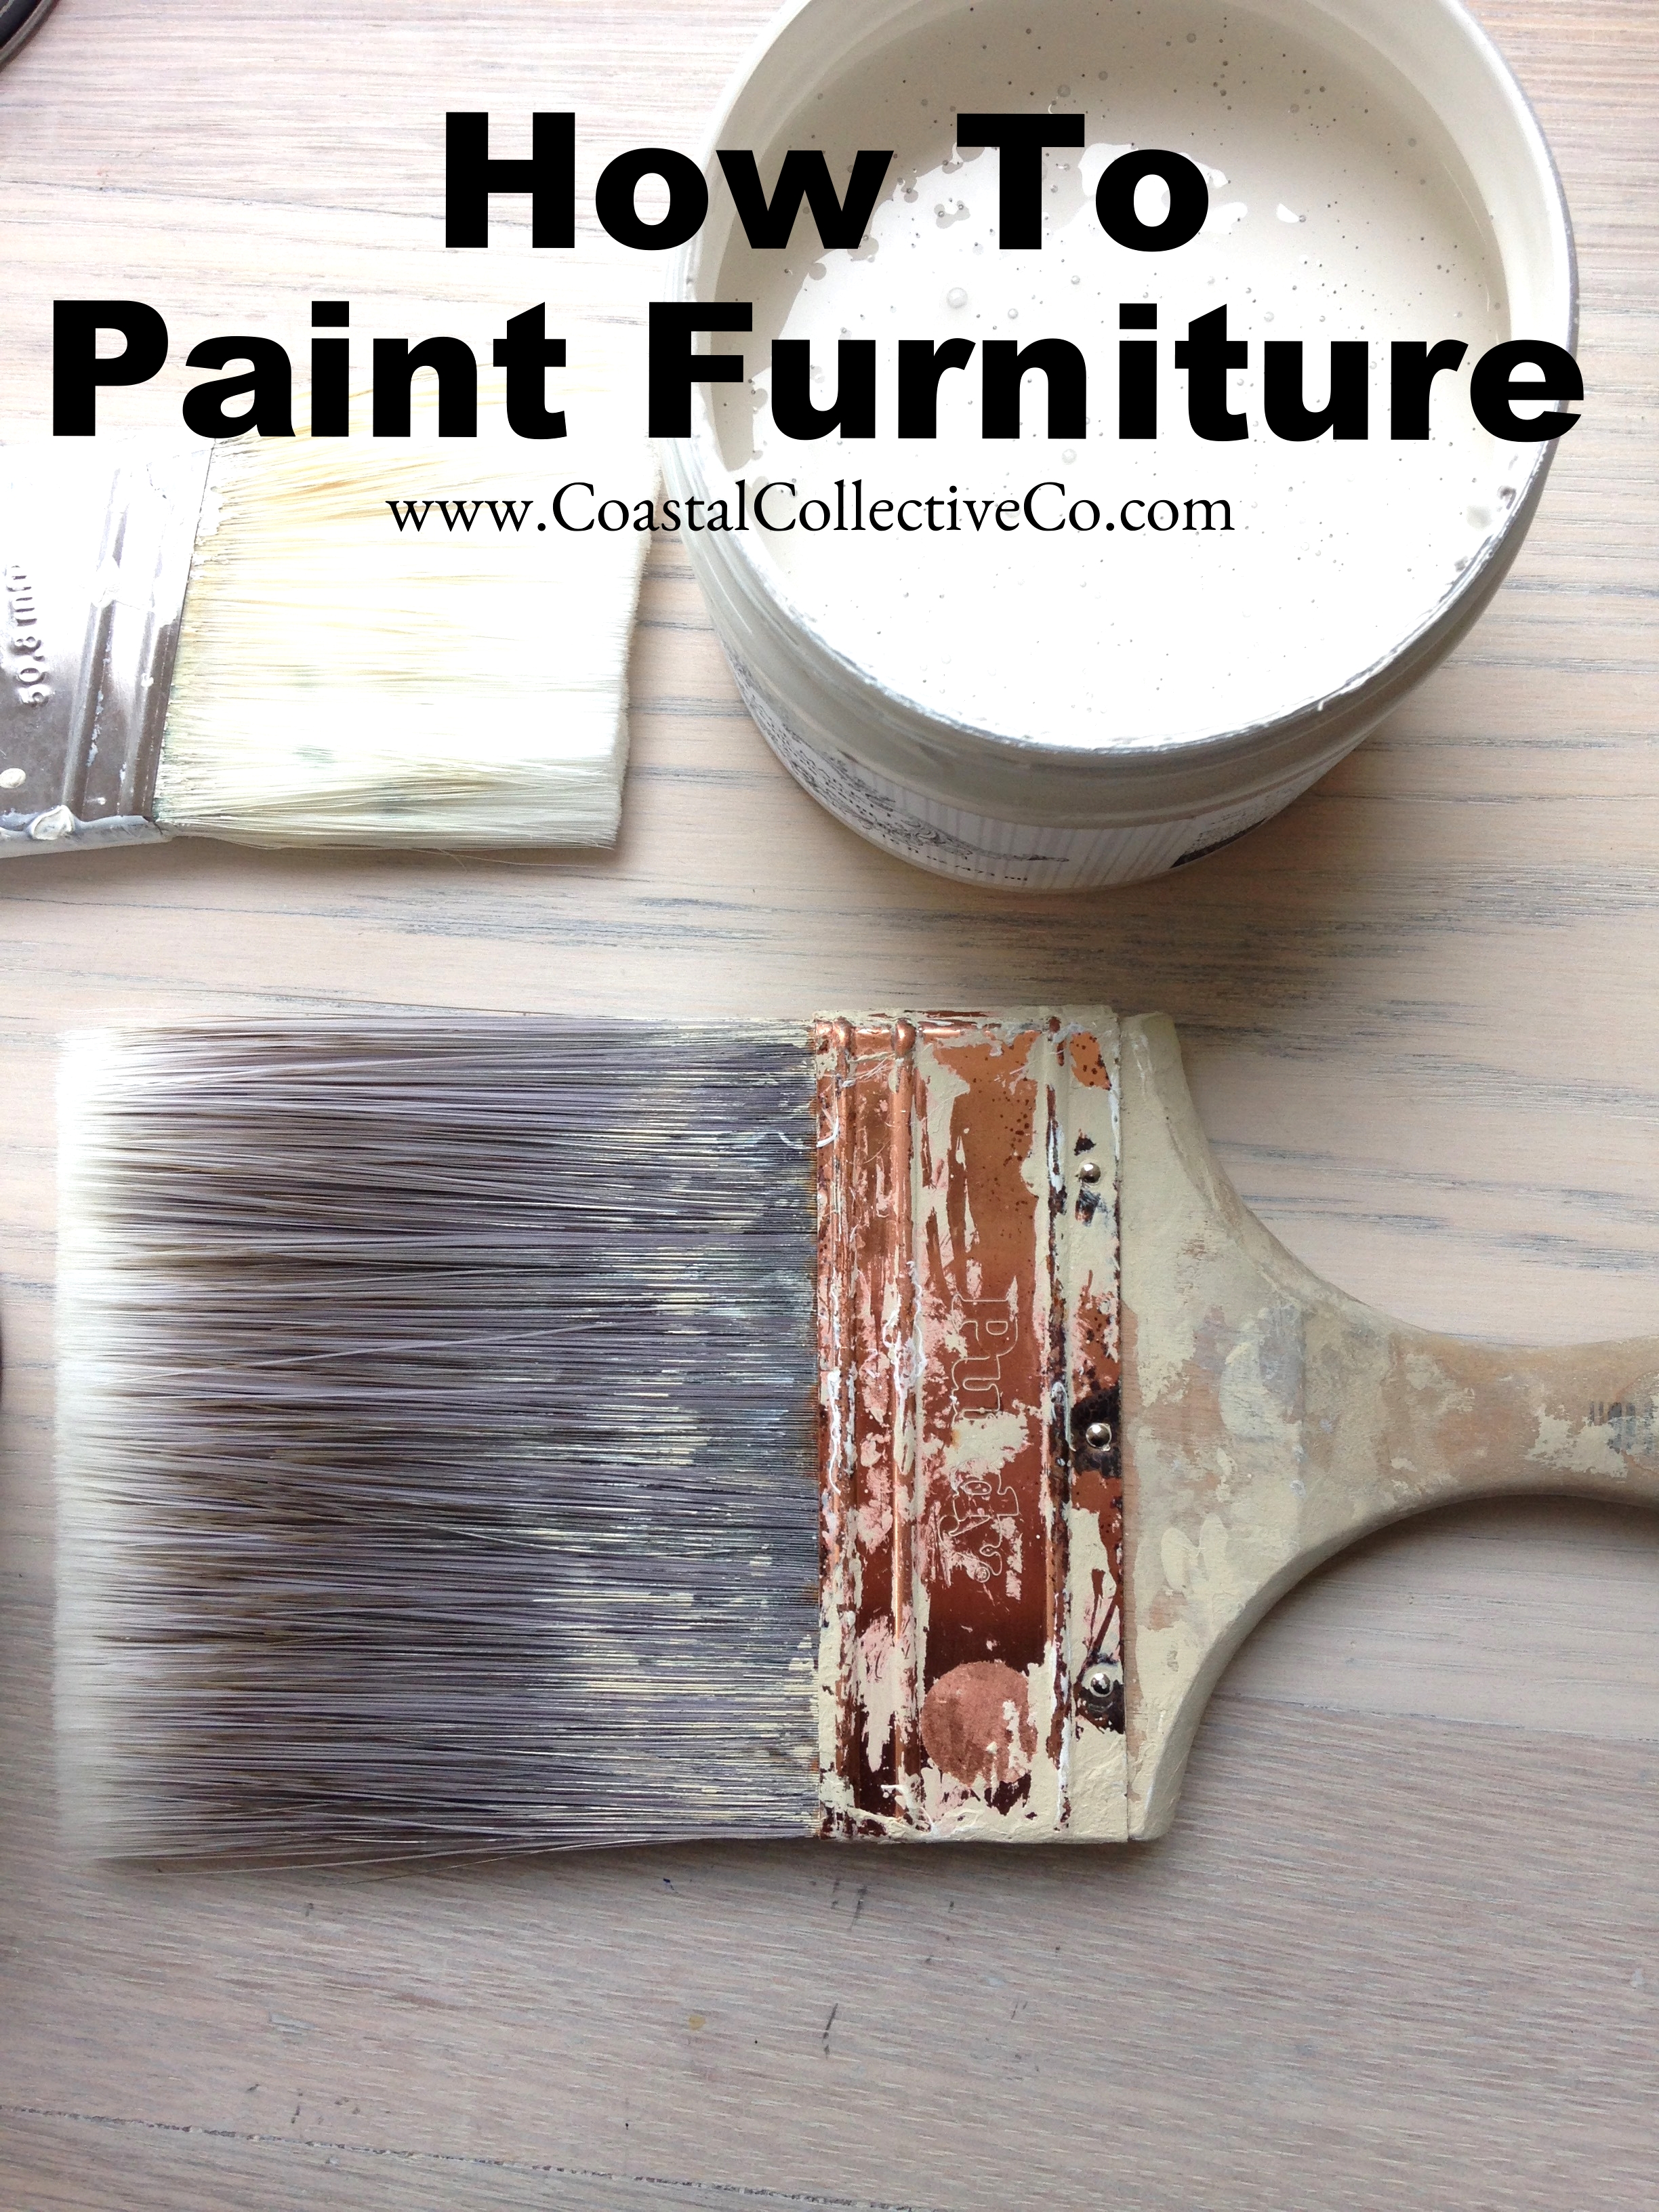
  2. I painted about three layers of FAT Paint Warm White with a brush. I currently use a Purdy or Wooster brush for most projects.

  3. Let the paint dry for at least 30 minutes between coats. I tried to rush it and ran into the paint coming off of the nightstand because it wasn't ready for a 2nd coat. This is easy to fix with some light sanding and blending, but a bit of a pain. So be patient! It's not that long compared to other paint and prep options out there.
  4. I applied two coats of beeswax polish.
  5. I let it cure for a few days.
  6. I installed new hardware and voila! A new nightstand for our kiddo's bedroom.

What do you think??? I hope this helps take the intimidation out of painting furniture. It's fun! And it's probably about the same cost as my Starbucks coffee drink and the time I take to drink it.


On another note, I opened up an online furniture painting class in October and will probably be opening one up again early next year or so.  If learning more about how to paint furniture is of interest to you, click below to stay in the loop and learn my tips, tricks and techniques!

xo,

Anneke

Follow along the day to day on instagram at:

@annekemcconnell

@coastalcollectivestyle

@coastalinteriors

Follow along on Facebook

Can We Slow Down Time? #vlog

Personal Development, FamilyAnneke McConnell

Many of us are undoubtedly feeling the hustle and bustle of the Christmas season with activities, crafts, Christmas Tree lightings, parades, work parties, and so on.  All of these are WONDERFUL!! 

There was something stirring inside me the past week, as sensed in my last post, that I needed to be more selective and intentional about what we would be committing to this season.  It's ok to say no. In fact, there's no way you can do it all, right?

I've kept the Christmas decor to a minimum and we have a couple things a week we're doing as a family, whether inside at home or out and about together.  My motto this year is do less to enjoy more.....to be fully there, to look my husband and kiddos in the eyes, let their laughter sink into my heart and settle there for awhile before "moving on" to the next thing.

So a confession for you.  I am seriously the WORST scrap booking crafty type person in the history of ever.  But I've felt compelled to just look back over the memories (thank you Facebook), and put together a collage video of sorts for us to remember moments spent together over the years, all to my new FAVE song by Us The Duo called Slow Down Time.  You can find it HERE.

I hope this short video inspires you to slow down, look your loved ones in the eyes this season, and enjoy every  moment we are blessed to have.

xo,

Anneke

Β 

Follow along the day to day on instagram at:

@annekemcconnell

@coastalcollectivestyle

@coastalinteriors

Follow along on Facebook